Remark: This documentation is about using
Instant Terra's terrains in Unreal Engine when you don't use the
plugin.
We strongly advice to use the Unreal Engine plugin instead, for a
better experience and an easy-going workflow.
Read Unreal Engine plugin documentation
Import your terrain into Unreal Engine
This tutorial demonstrates how to export a terrain and masks from Instant Terra and import them into Unreal Engine® 4 to create large, high-quality landscapes.
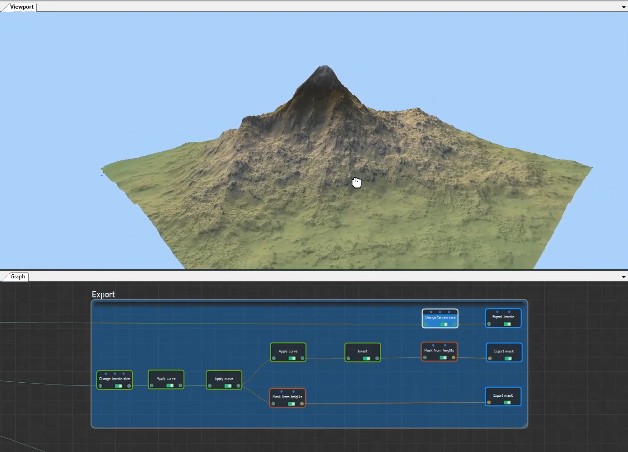
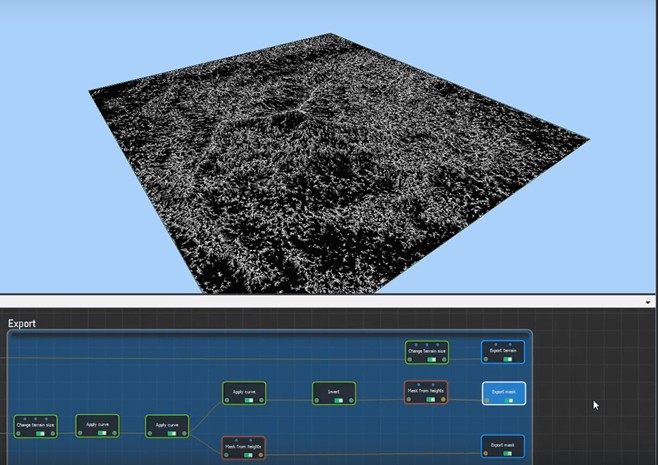
Here is the terrain rendered in Instant Terra. The graph composes the entire terrain, but we will focus only on the Export group.
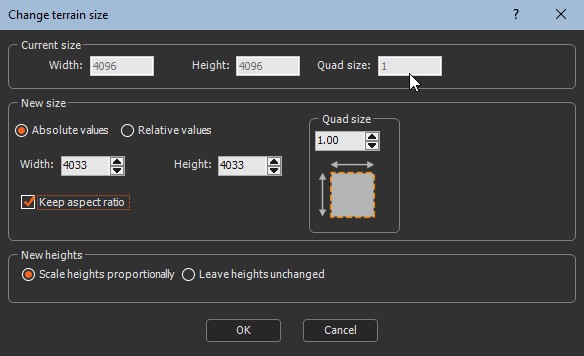
Before exporting the terrain, modify the terrain resolution.
Click on the Change terrain size node and change the current resolution from 4096 to 4033.
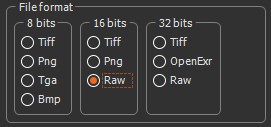
Choose the export format from several formats; Raw is ideal for a terrain.
Save and export the height map by clicking on the Save button.

In Unreal Engine, import the height map to generate the terrain.
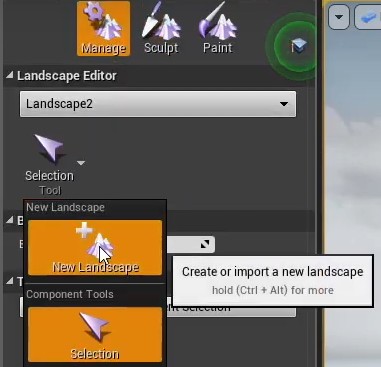
In the Landscape tool, select Manage > New Landscape.
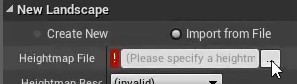
Check Import from File to import a custom height map and select the terrain's height map.
Modify the terrain's scale, if necessary.
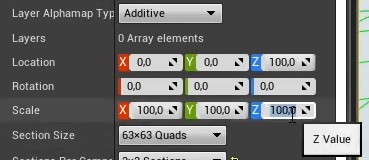
We see that the resolution of the terrain has been updated with the terrain size set in Instant Terra.

Select the material to use for the entire terrain.

Import the terrain by clicking on the Import button.

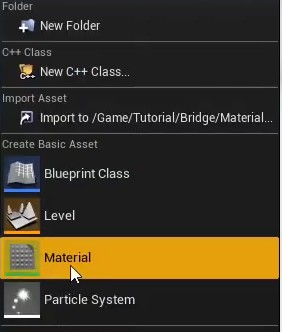
Create a basic material for the terrain. Right-click and select Material.
Add the four textures from the starter content, but you could use any texture.
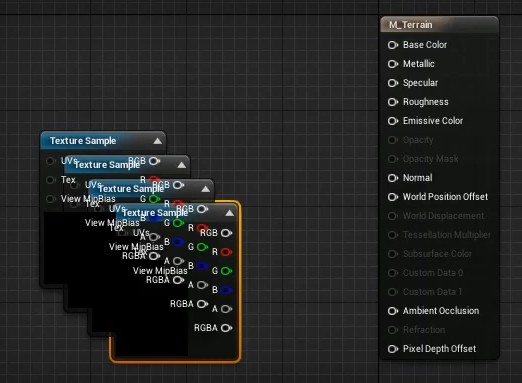
Right-click and add the Landscape Layer Blend node, then add two layers to it, one for rock and the other for grass, and name them.
Connect the layers.
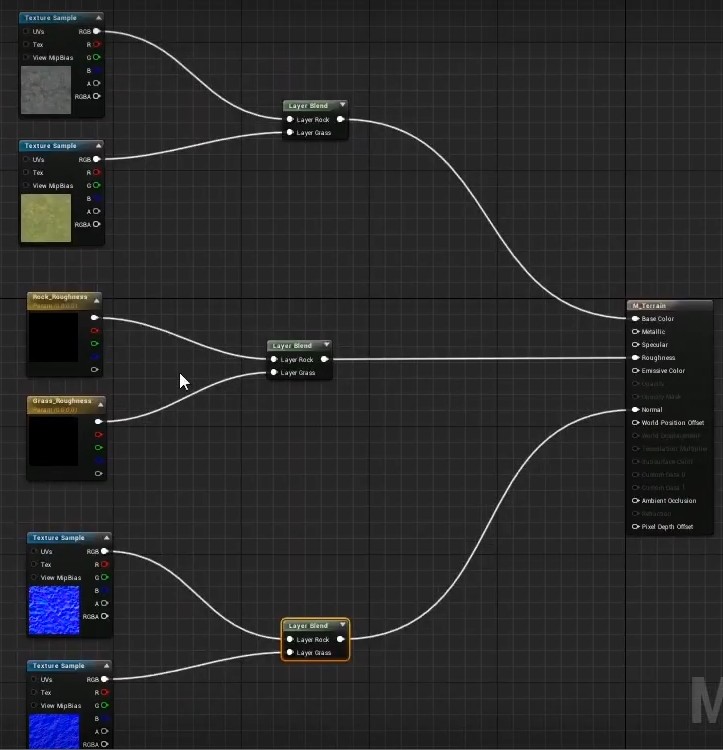
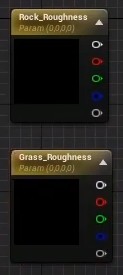
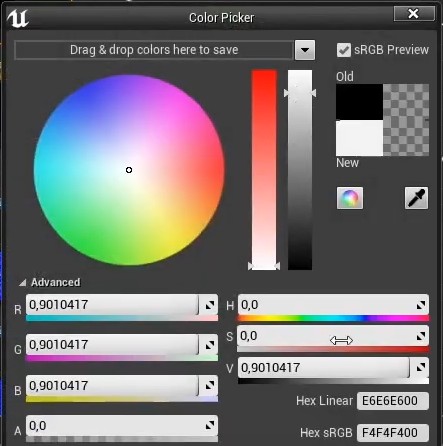
Click on the layers and add a greyscale value for the roughness.
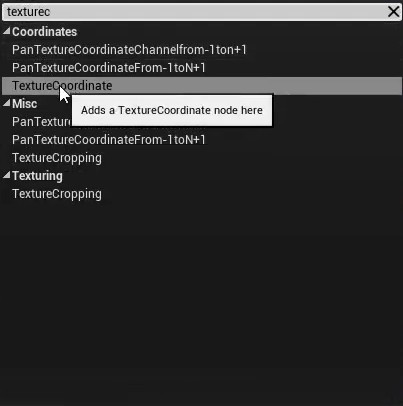
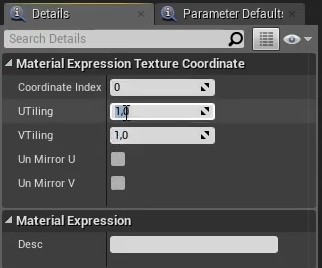
Add a Texture Coordinate node to tweak the texture's tiling.
Connect them.
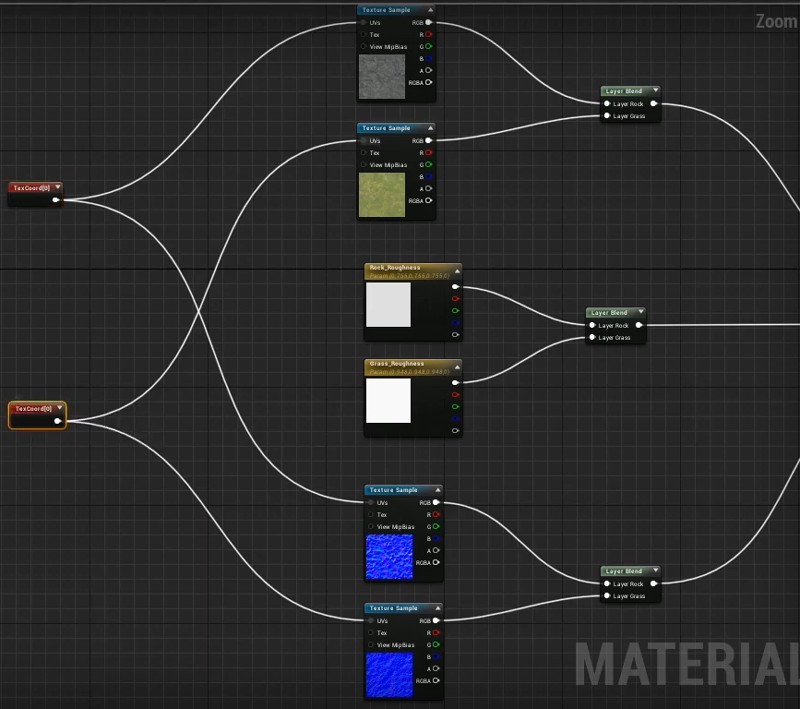
Choose a tile value.
In Instant Terra, export additional masks to add details to the terrain. Export one mask for the rock layer and another for the grass layer.
Import these maps into Unreal Engine as before.
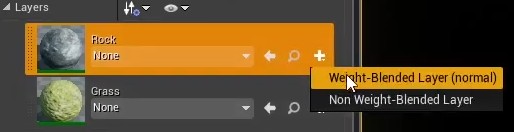
Go to the Paint Tool panel and save both layer blends as weight-blended layers.
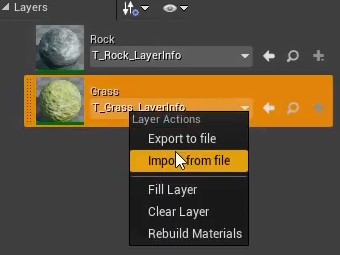
Import our mask by right-clicking on the grass layer.
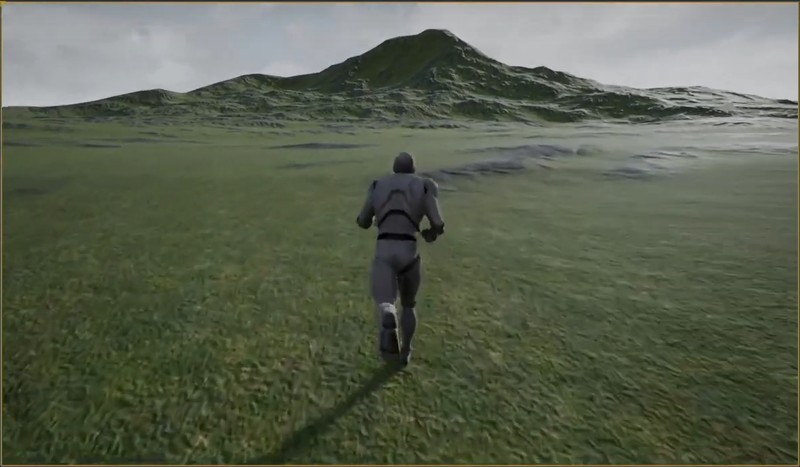
Here is the final terrain. We can see that the terrain is very large.
Tile export
This section explains how to export your terrain as multi-files and import them into Unreal Engine.
Right-click in the Graph Editor and select Create Node > Export > Multi file export terrain and double click to open its parameters.
See and Multi file (tiled) export terrain node for more details.
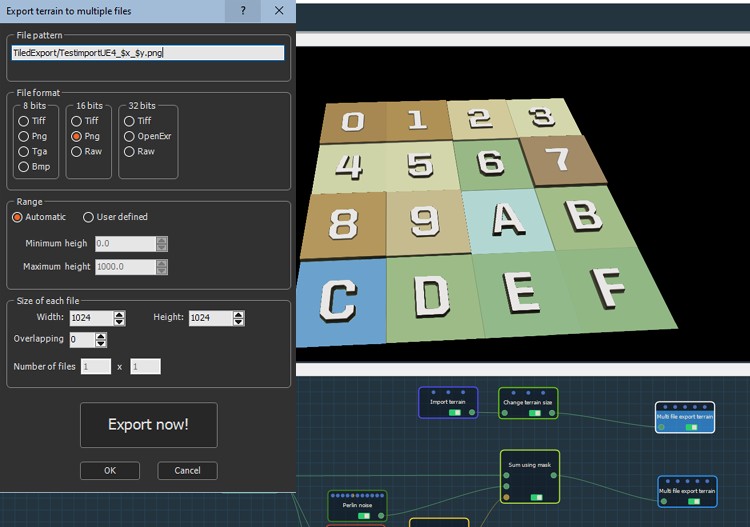
The following pattern works for UE4: "filename_X$x_Y$y.jpg" (UE4 requires an "X" and an "Y" before the coordinates of the tile).
Note that UE4 forbids tiles of more than 1024 vertices. Be sure to check the size of your tiles.
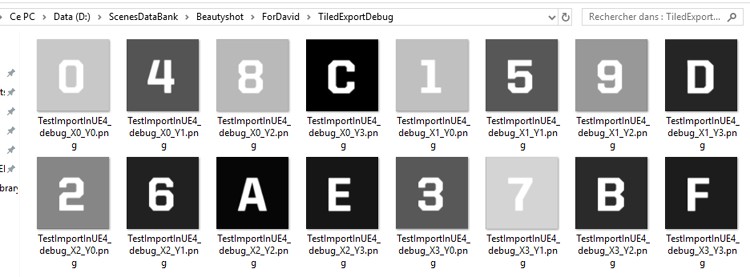
After the export is completed, you will have the following files in your Windows Explorer.
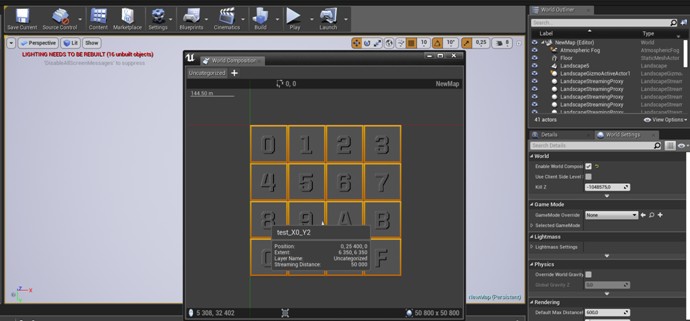
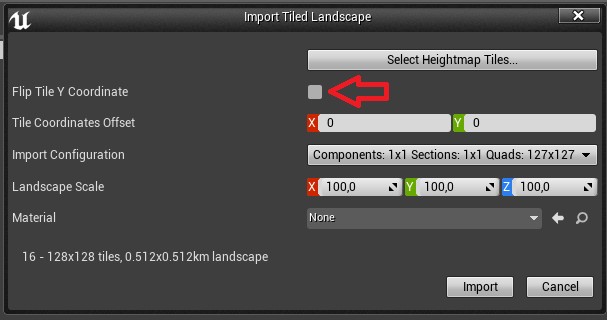
Open your UE4 project, and when using the world composition import, specify if you need to flip or not the Y Coordinates. Do not check this box for Instant Terra.
This option is checked by default.
The terrain tiles appear in the correct order / position inside UE4.