Adding an Advanced snow node
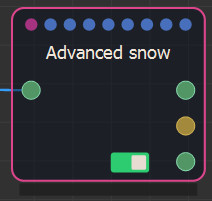
The Advanced snow node generates a layer of snow and applies a snow color map to a terrain at locations defined by parameters.
The node has one input: a terrain with or without a color map. If the terrain input does not have a color map, a neutral color ramp is applied and is visible in places not covered by snow.
The node has three outputs: the terrain to which the snow layer has been added and with an updated color map, the snow mask, and the layer of snow that has been added.
To add an Advanced snow node, right-click in the Graph Editor and select Create Node > Colorize > Advanced snow.
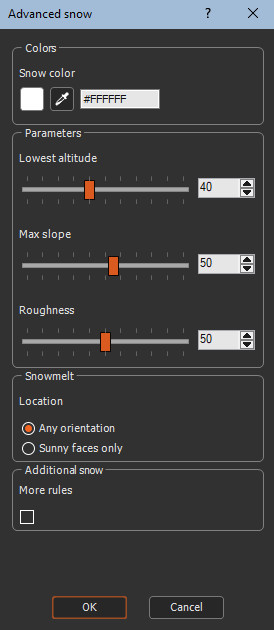
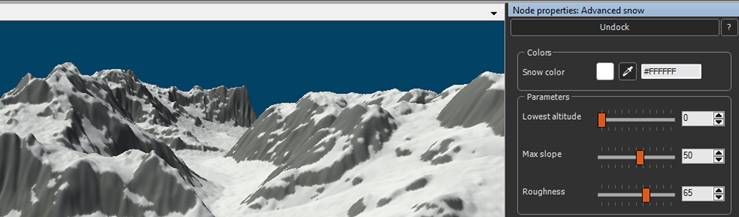
Select the node to open its parameters:
Editing an Advanced node
- Snow color: Use the color picker or enter a hex color code to set the snow color.
- Lowest altitude: This parameter is expressed
as percentage of the maximum height. Below this value, the color
map remains unchanged.
To add snow only to the peaks, set the value to a high value.
To add snow to all altitudes including the lowest, set the parameter at 0.

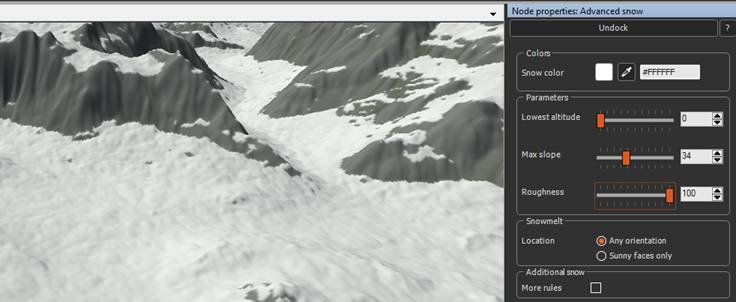
 - Max slope: This is the angle beyond which the
snow does not settle. If the angle is small, snow will only be
present in the least steep locations. If the angle is high, the
snow is also present on steep slopes.
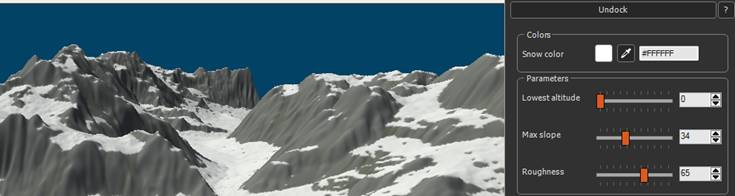
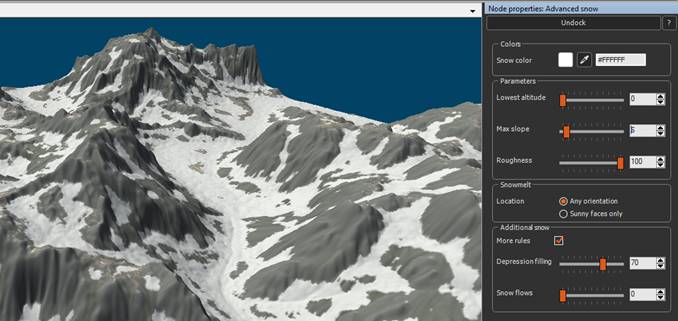
For example, with value of 34, the following snow coverage is achieved:
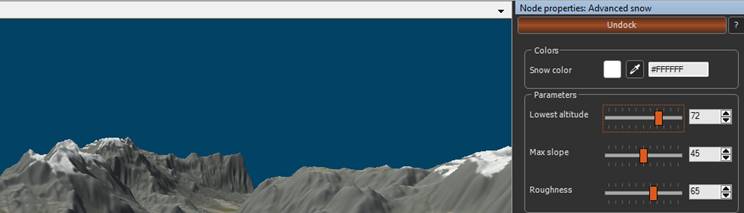
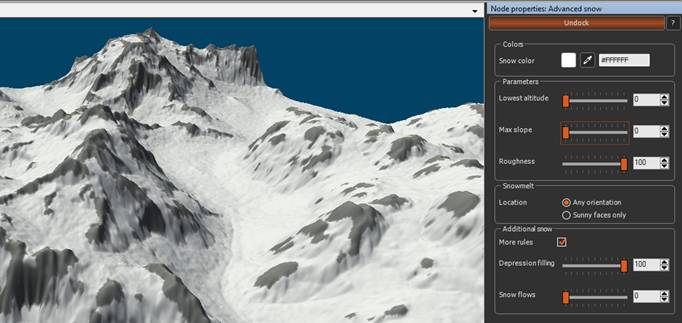
And with value of 50:
- Roughness: This parameter varies the
appearance of the snow.
With a value of 0, the snow is completely smooth. This is particularly visible on the less steep parts.

The snow becomes less smooth with a higher value.
- Snowmelt: These parameters allow you to choose
if the snow cover is uniform regardless of the orientation, or if
faces should be considered as more exposed to the sun and therefore
with less snow.
- Any orientation: The snow cover does not take into account the orientation of the faces.
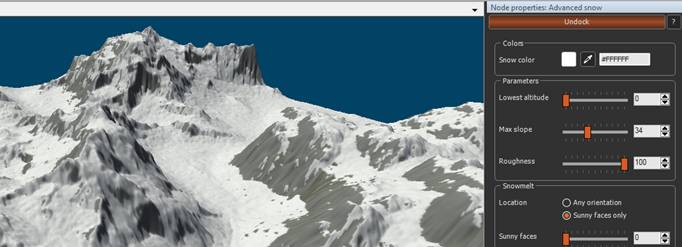
- Sunny faces only: Choose an orientation (from 0 to 360) to define the faces where the snow melts more.
For example, with the parameter Any orientation,
the following snow coverage is achieved:

Here are the results of the Sunny faces only parameter with value
of 0:
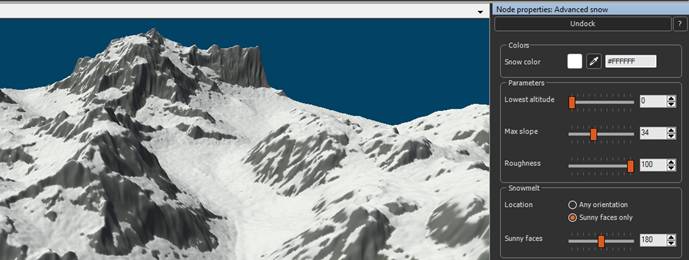
And Sunny faces only with value of 180:
- More rules: You can define Depression filling and Snow flows for snow deposition if you check this option.
- Depression filling: This parameter propagates
the snow onto the concave parts of the terrain.
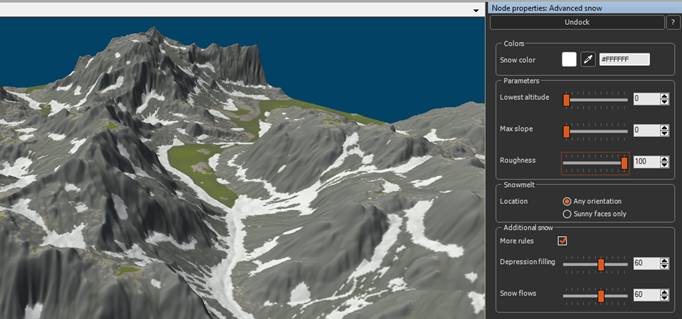
For example, with value at 70, the following snow coverage is achieved:
With the maximum values, only the edges are shown:
- Snow flows: This parameter adds snow to places
of natural flow.
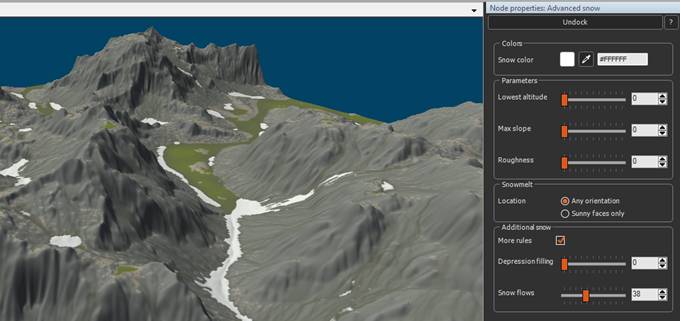
Use it in addition to Depression filling to add details to the placement of the snow.
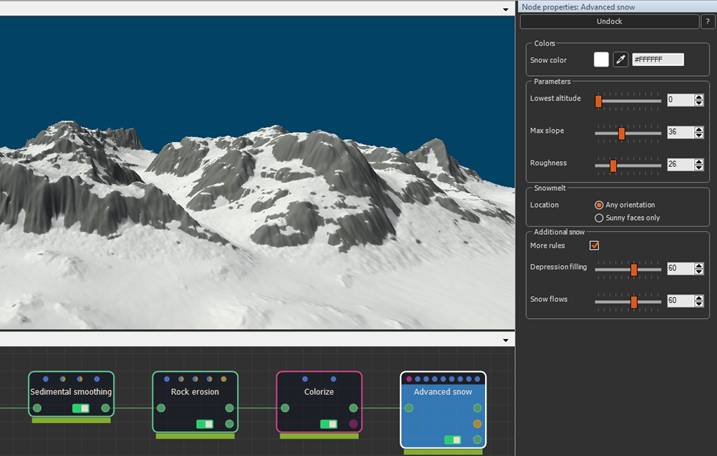
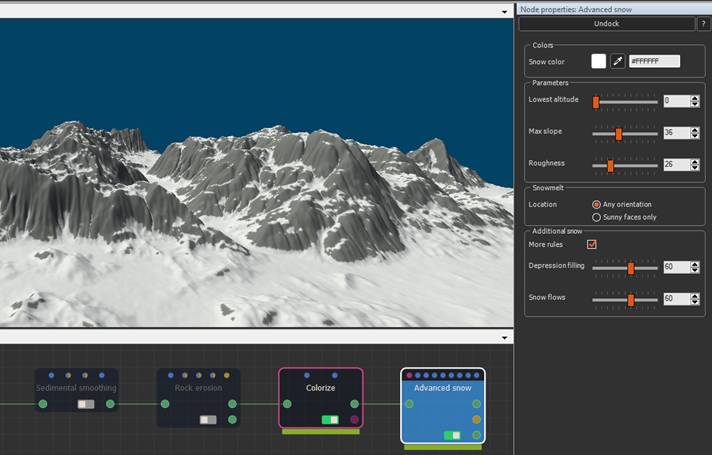
Tip: Place it after a Colorize or Advanced Colorize node to achieve the desired color for rocks and sediments. The results are interesting if we have sedimental smoothing and rock erosion: they will smooth the ground and add sediment at the bottom of the slopes to give a snow accumulation effect.
With sedimental smoothing and rock erosion:
And without:
 Â
Â
Parameters
| Parameter | Use |
|---|---|
| Snow color | Sets the snow color. |
| Lowest altitude | Expressed as percentage of the maximum height. Below this value, the color map remains unchanged. |
| Max slope | The angle beyond which the snow does not settle. |
| Roughness | Varies the appearance of the snow. |
| Snowmelt | Chooses if the snow cover is uniform regardless of the orientation, or if faces should be considered as more exposed to the sun and therefore with less snow. |
| Any orientation | Does take into account the orientation of the faces. |
| Sunny faces only | Chooses an orientation (from 0 to 360) to define the faces where the snow melts more. |
| More rules | Adds the Depression filling and Snow flows parameters. |
| Depression filling | Adds snow to places of natural flow. |
| Snow flows | Propagates the snow onto the concave parts of the terrain. |