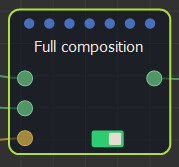
Adding a terrain Full composition node
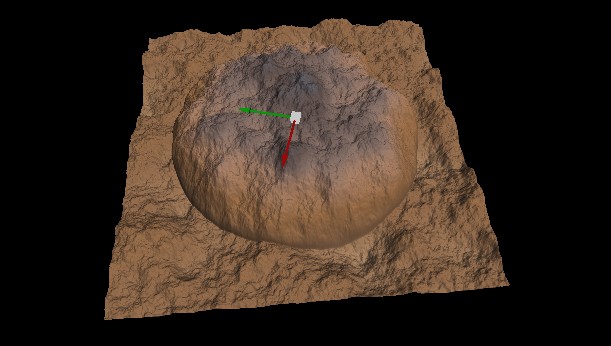
This node gives maximum freedom to compose two terrains. The second terrain can be translated in the X and Y axes, scaled, and rotated before composing it with the first terrain according to the selected blend mode.
This node can be used with the Flatten edges node, which flattens the four edges of a terrain so that they are at zero altitude. This allows you easily add a terrain inside a larger terrain.
To add a node, right-click in the Graph Editor and select Create Node > Terrain Composition > Full composition.
Double click on the node to open its parameters:

The translation gizmo appears in the Viewport. Right-click to switch to Scale or rotation.
Blend modes
Choose one blend mode from the list:
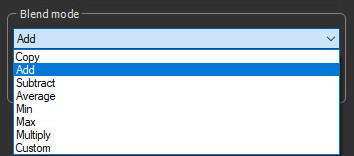
The result for each blend mode is explained in the Blend node page.
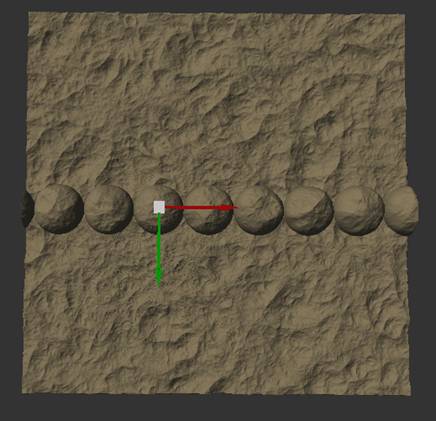
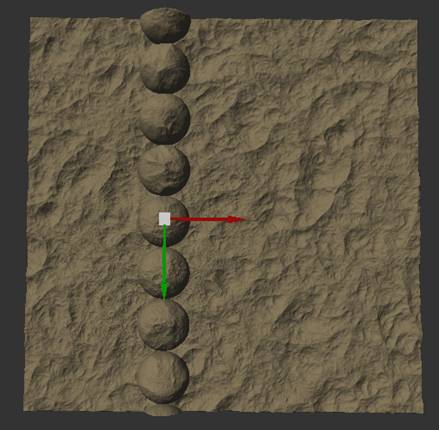
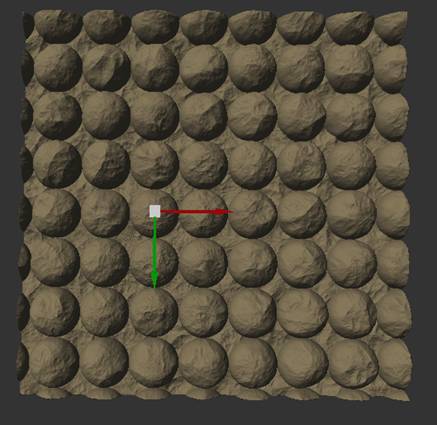
Tiling
| Tiling X: The terrain is repeated along the X axis | Tile Y: option is checked, the terrain is repeated along the Y axis |
|
|
| When both options are checked, the terrain is repeated along the two axes |
|
Transforming the terrain
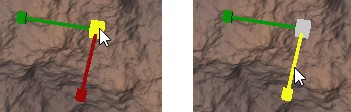
Use the sliders to set the translation, scale, and rotation values or click and drag either the center, the X axis, or the Y axis of the gizmo.
- Translation: Sets the translation along the X or Y axis applied to the second input terrain before composing it with the first terrain.
Use the gizmo to set the translation values by clicking and dragging either the center, the X axis, and the Y axis of the gizmo:
The translation values are relative to the
size of the output terrain. A value of 0 positions the center of
the second input terrain at the center of the output terrain.
An X value of -1 positions the center of the second terrain on the
left edge of the output terrain.
A Y value of 1 positions the center of the second terrain on the
right edge of the output terrain.
- Scale: Sets the X axis or Y axis scale to be
applied to the second input terrain before composing it with the
first terrain.
Check Keep aspect ratio to scale along the X or Y scale preserve the relative horizontal and vertical sizes.Note that when the scale manipulator is displayed, it is no longer possible to select a single axis; both axes are selected at the same time.
Right-click on the terrain to change to the scale gizmo. Use the gizmo to set the scale values by clicking and dragging either the center, the X axis, and the Y axis of the gizmo:
The default scale value is 1, which means that the second input terrain retains its default size.
- Rotation: Sets the angle in degrees to rotate the second input terrain around its center before composing it with the first terrain.
Right-click on the terrain to change to the rotate gizmo. Drag the mouse when the gizmo is highlighted in yellow to change the angle of rotation.
color map
When both terrains have color maps, you can choose if the color maps blend as well, and the intensity of the color blend

Parameters
| Parameter | Use |
|---|---|
| Blend modes | See Blend node page |
| Tiling | Repeats the terrain along the X or Y axis |
| Translation X | Translation along the X axis applied to the second input terrain before composing it with the first terrain |
| Translation Y | Translation along the Y axis applied to the second input terrain before composing it with the first terrain |
| Scale X | The X axis scale applied to the second input terrain before composing it with the first terrain |
| Scale Y | The Y axis scale applied to the second input terrain before composing it with the first terrain |
| Rotation | The angle in degrees to rotate the second input terrain around its center before composing it with the first terrain |
| Blend color map | Option to blend both color maps if present. Otherwise only the color map of the base terrin is used. |
| color map blend coefficient | color maps blend intensity |
Copyright © 2022 · All Rights Reserved · Wysilab