Python nodes are custom nodes based on a Python script used to interact with the data handled by Instant Terra.
Creating and editing Python scripts
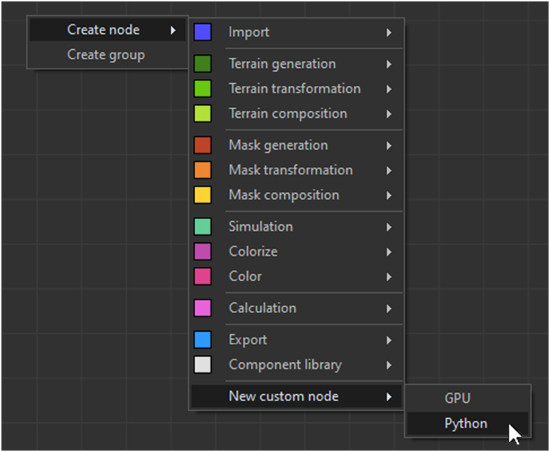
To create a Python custom node, select New custom node > Python from the creation node menu.
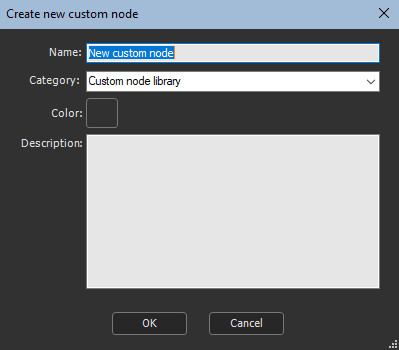
Specify the node's name, category and color.
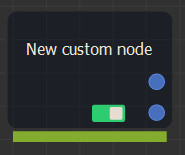
The node is displayed in the graph with the default settings.
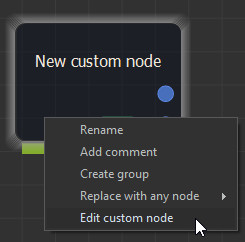
Editing the Python script
- Right-click on the node and select Edit custom node from the contextual menu.
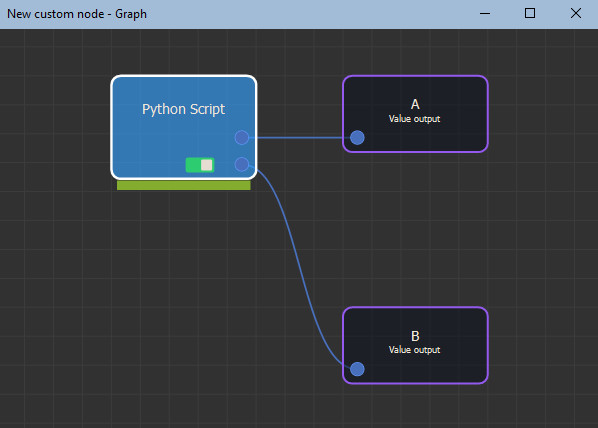
The custom node's graph window opens. This is where you will define the input, output, and parameter nodes, and also enter the Python script.
The Python script node is created from a default sample script with no input and two output values.
- Select the Python script node to open its properties and the
script editor.
- When the node has no input terrain or mask, edit the size (width, height, quad size); otherwise, these options are disabled and the values are retrieved from the input terrain / mask.
- The text editor is where you enter the Python script.
-
If you are not familiar with this language, read this tutorial: https://docs.python.org/3/tutorial/
You can also use this tool: https://jobtensor.com/Python-Introduction
- Once your script ready, compile it by clicking the Compile button below the text editor. Instant Terra checks the code syntax and then runs the script. While running, a Stop button is shown to let you stop the execution of the script.
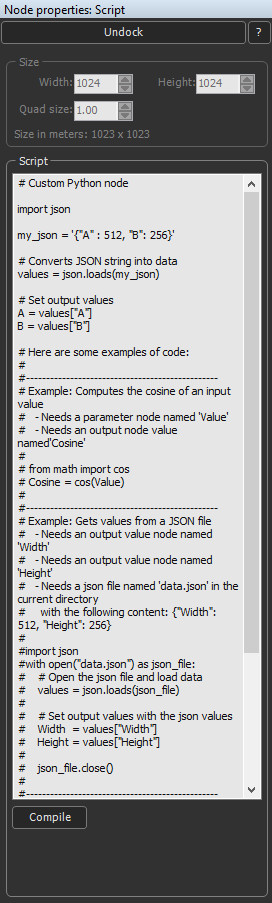
In case of any error while compiling or running, a message is displayed under the Compile button with the information about the error.
Input and output data
Any new node, input, output or parameter triggers the addition of a new connector on the Python Script node.
Numeric values
Any node linked to the Python Script node is shown as a Python variable, which takes the node's name.
In this example, the following script is entered:
OutputValue = InputValue * 10
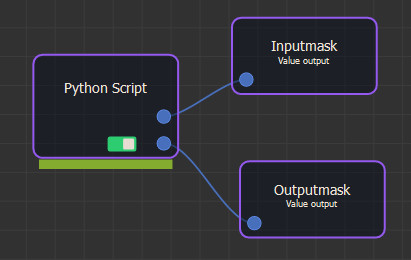
Terrains and masks
The width and height of a terrain or mask is retrieved and used for the width and height attributes.
mask_width = InputMask.width
terrain_height = OutputTerrain.height
Use the "get" method to retrieve the value of the terrain / mask at a specific location:
mask_value = InputMask.get(128,256)
Use the "set" method to change the value of the terrain / mask at a specific location:
OutputTerrain.set(10, 20, 50) # Put the value 50
In the following example, the output terrain uses the mask values x 100:
for y in range(InputMask.height):
for x in range(InputMask.width):
OutputTerrain.set(x,
y, InputMask.get(x, y) * 100)
Copying the entire input terrain or mask
It’s possible to copy the entire content of an input terrain or mask to an array at once with the following code.
import numpy
arr = numpy.ndarray(shape=(Input.width, Input.height),
dtype=numpy.float32)
import ctypes
ctypes.memmove(arr.ctypes.data, Input._Grid__ptr, Input.width *
Input.height * 4)
You can do the same to copy the content of an array to an output terrain or mask.
ctypes.memmove(Output._Grid__ptr, arr.ctypes.data, Output.width * Output.height * 4)
Progress bar
Use "set_task_progress(value)" with value between 0 and 100 to let Instant Terra know the completion rate. This drives the display of the progress bar under the custom node.