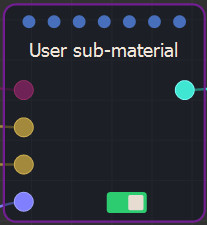
Adding a User sub-material node
The User sub-material node creates a sub-material from imported data.
This node must then be connected to a Material node or an Advanced material node to provide a sub-material to a layer of a material, which can then be applied to terrain with an Apply material node.
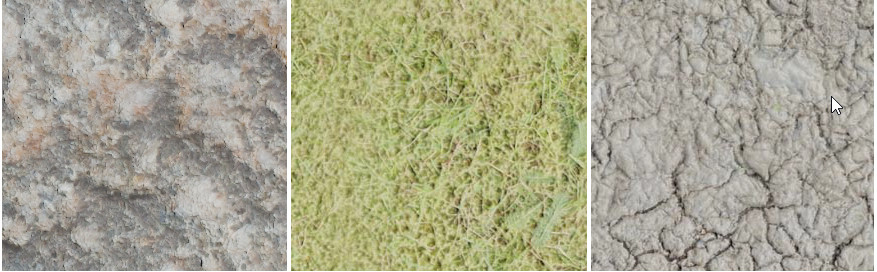
A sub-material contains a set of textures that correspond to a single effect, for example, a rock sub-material or a grass sub-material.
Below is an example of different sub-materials.
To add a Simple material node, right-click in the Graph Editor and select Create Node > Materials > User sub-material or press the keyboard shortcut NSBA (Node SuB Material).
Below are examples of textures used to create a sub-material:
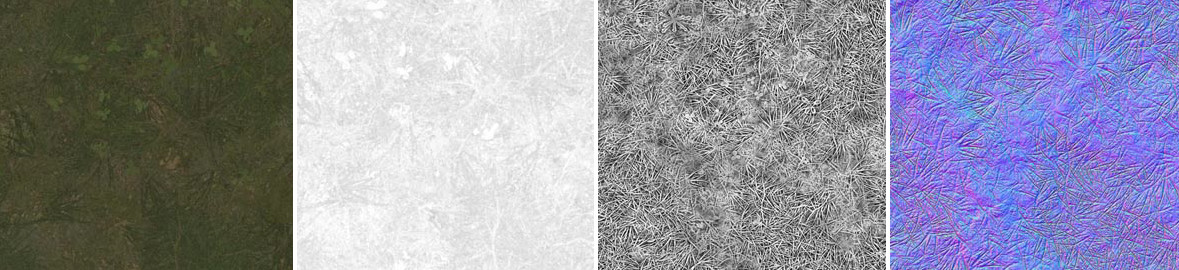
From left to right: Base color, Roughness, Ambient occlusion, Normal map
Only the Base color color map is mandatory. The Roughness and Ambient occlusion masks and the Normal map are optional, but it is strongly recommended to add them to obtain good quality rendering.
Automatic creation of a User sub-material node by drag & drop
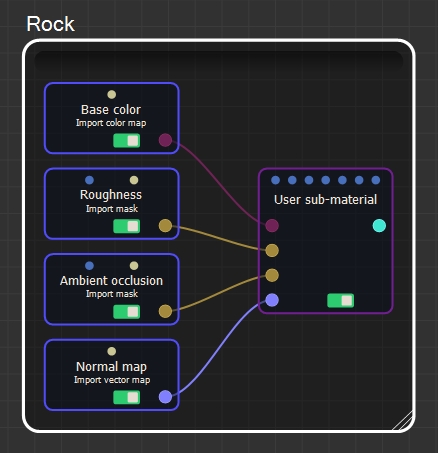
The most efficient way to create a User sub-material node is to have four image files containing the four Base color, Roughness, Ambient occlusion, and Normal map data in the same directory:
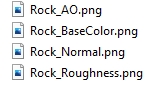
Drag one of the four files and drop it into Instant Terra's Graph window. Instant Terra automatically detects the presence of other files and proposes to import them at the same time:
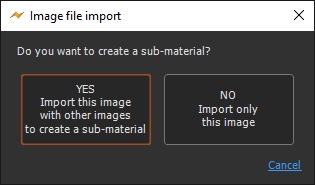
Click on the YES button. Instant Terra to automatically import the four images and create a sub-material that uses them:
Editing the User sub-material node
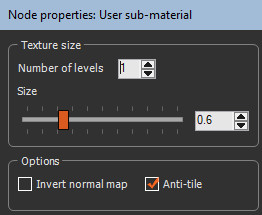
The User sub-material node parameters window is as follows:
- If the User sub-material node is linked to an Material node, click
 to display in the 3D view the terrain
on which the material is applied.
to display in the 3D view the terrain
on which the material is applied. - Click
 to return to the
display of the material.
to return to the
display of the material. - The Number of levels determines the number of levels of the material, which can help reduce the material's pattern repetitiveness (see Tiling management).
- The Size parameter adjusts the size of the sub-material for each level.
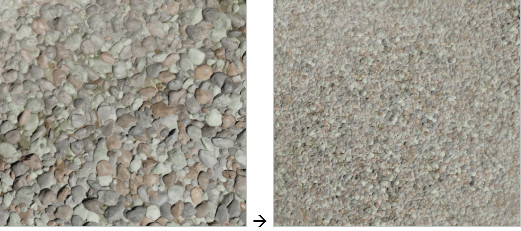
Increase in size:
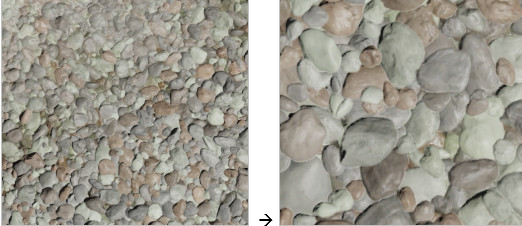
Decrease in size:
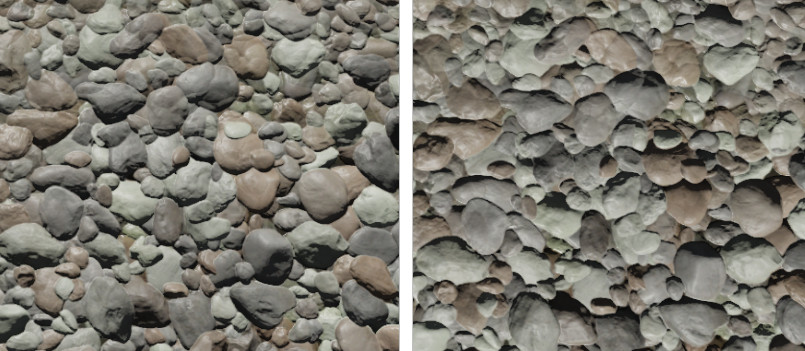
- There are two conventions for normal maps: OpenGL and DirectX. Instant Terra uses normal maps that follow the OpenGL convention. If you are using a normal map that follows the DirectX convention, check the Invert normal map box and Instant Terra will automatically convert the normal map. The images below show the rendering difference depending on whether the Invert normal map box is checked or not:
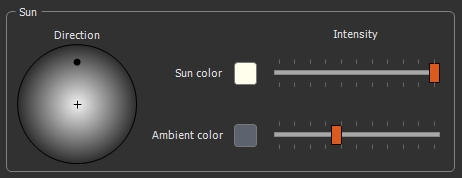
If you have the impression that the shadows are inverted from the sunlight along the y axis, the normal map may not have the correct convention. To change the direction of the sunlight, select Edit > Preferences > Environment settings to open the Environment parameters window:
Tiling management
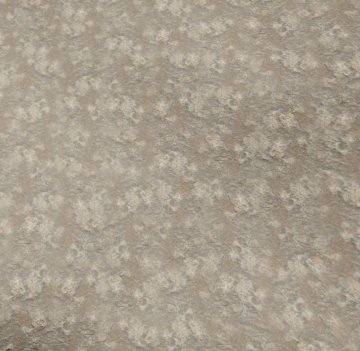
When the Anti-tile box in the parameters Options is unchecked, you can generally see the repetition of the texture very clearly:
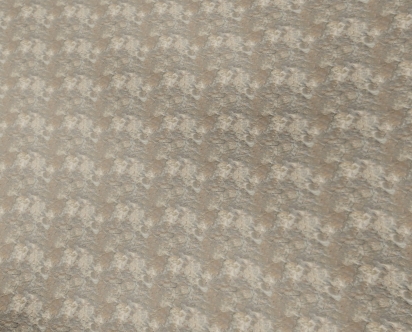
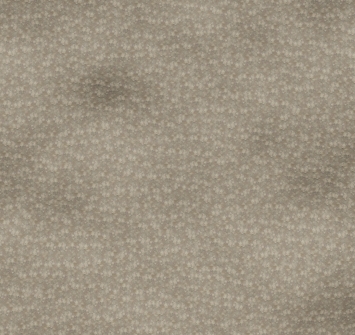
Checking the Anti-tile box minimizes this effect:
At a greater distance, the effect can still be visible:
One solution to hide this unwanted effect is to add a second level:
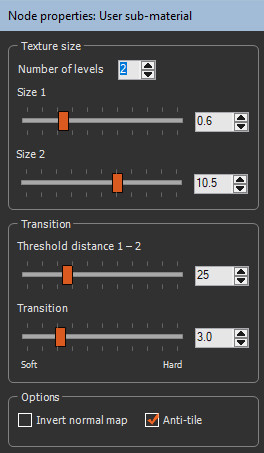
- When the distance between the camera and the terrain exceeds a certain threshold, defined by the parameter Threshold distance 1 - 2, the sub-material is displayed with a larger size, defined by the parameter Size 2.
- The Transition parameter is used to define the transition between the two sizes: a value of 1 defines a very smooth transition, with a progressive blend between the two sizes, and 10 defines a very fast transition between the two sizes.
Up to three levels are possible:
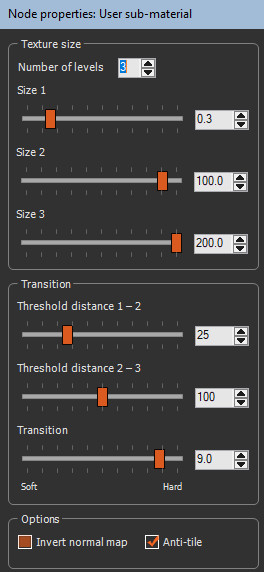
Three sizes and two transition distances are therefore are available.
See also:
Introduction
to materials
Sub-material node
Advanced material
node
Material node
Parameters
| Parameter | Description |
|---|---|
| Show terrain | Displays in the 3D view the terrain on which the material is applied. |
| Show material | Returns to the display of the material. |
| Number of levels | Determines the number of levels of the material. |
| Size | Adjusts the size of the sub-material. |
| Threshold distance 1-2 | Defines the distance between the camera and the terrain between sizes 1 and 2. |
| Threshold distance 2-3 | Defines the distance between the camera and the terrain between sizes 2 and 3. |
| Transition | Defines the transition between the two sizes. |
| Invert normal map | Automatically converts the normal map from DirectX to OpenGL. |
| Anti-tile | Minimizes the repetition of the texture. |