Adding a Cone node
This node creates a terrain in the form of cone by elevating the terrain from the outside to the center, conically.
To add a Cone node, right-click in the Graph Editor and select Create Node > Terrain Generation > Cone.

Double click on the node to open its parameters:
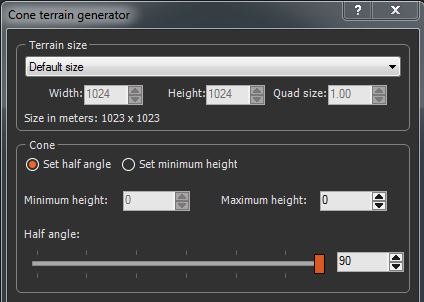
Setting the terrain size
- To change the terrain size, edit the Width and Height fields in number of vertices or select a size preset from the list.
- To change the quad size, edit the Quad size field in meters.

Setting the cone parameters
Two ways exist to set the slope of the terrain:
- Set half angle: Sets the cone according to the height of the central vertex and the angle at the center vertex.
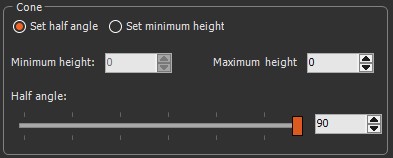
- Set the Maximum height to define the height of the central vertex.
- Use the Half angle slider to set the angle
between the central vertex and the surface of the cone.
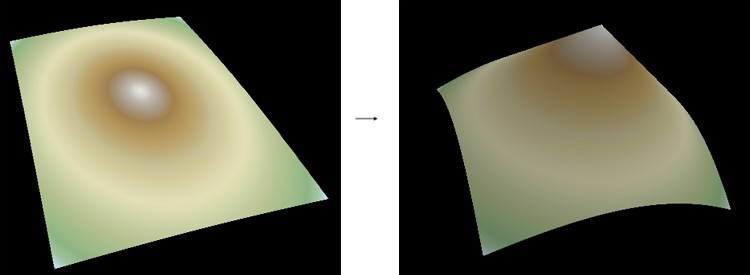
In the example below, increasing the slider reduces the between the central vertex and the surface of the cone.
- Set minimum height: Sets the cone according to the heights of the central vertex and of the summits of the terrain.
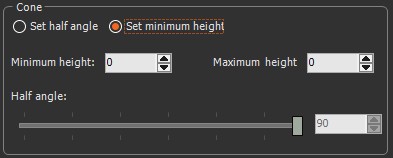
- The Minimum height determines the height of the four angle vertices of the terrain.
- The Maximum height determines the height of the central vertex.
Parameters
| Parameter | Use |
|---|---|
| Terrain size | See "Part common to all generator nodes" |
| Set half angle | Sets the cone according to the height of the central vertex and the angle at the center vertex |
| Maximum height | Determines the height of the central vertex |
| Half angle | Determines the angle between the central vertex and the surface of the cone |
| Set minimum height | Defines the cone according to the heights of the central vertex and of the summits of the terrain. |
| Minimum height | Determines the height of the four angle vertices of the terrain |
| Maximum height | Determines the height of the central vertex |