Adding an Export mesh node
This node exports a terrain in the form of a mesh as an .fbx file.
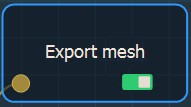
To add an Export mesh node, right-click in the Graph Editor and select Create Node > Export > Export mesh.

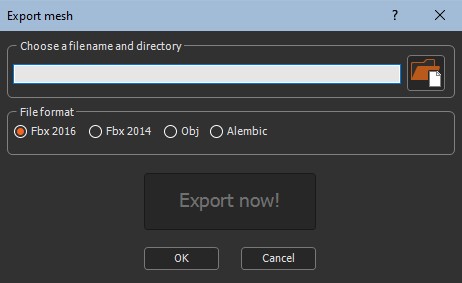
Double click on the node to open its parameters:

Exporting a mesh
See also Exporting all the export nodes in a graph.
To export a mesh:
- Choose a file name and directory by either dragging and dropping the file into the field, clicking on the folder button and browsing to the file you want to import, or typing the directory of the file to export.
File names with Unicode characters are supported.
If you have already saved your project, type just a file name to export it to the same directory or a sub-directory of your project. This is useful, for example, if you have a second project in the same directory and want to import into it the exported file from the first project. There is no need to type the file directory, just the file name or the sub-directory and file name.
- File format: Choose between Fbx 2016, Fbx 2014, Obj, and Alembic (*.abc) file formats.
UVs are provided for Fbx and Obj formats.
- Click the Export now! button, which triggers the terrain calculation and saves it in the file once the mesh is completely created.

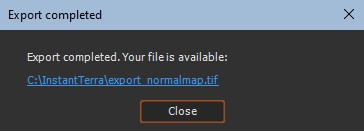
The export is confirmed by a pop-up dialog:

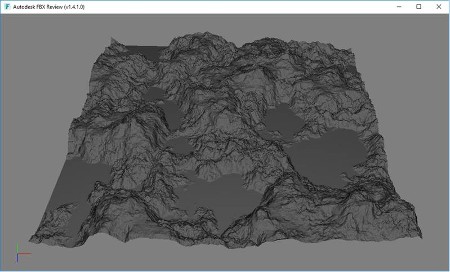
You can open the .fbx file in any software that reads .fbx files.

Parameters
| Parameter | Use |
|---|---|
| File name | Name and directory of the exported mesh file. |
| File format | File format: Fbx 2016, Fbx 2014, or Alembic. |