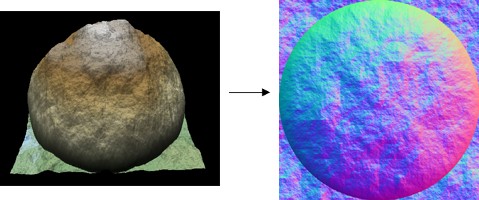
In this workflow, you will learn how to compute the normal map of an input terrain and export it to be able to add surface detail such as bumps, grooves, and scratches to a model that catch the light as if they are represented by real geometry.
As the color map created by computing the normal map cannot be visualized directly in Instant Terra, an Export vector map node is used to export and view it as a tiff, png, tga, or bmp file.
See also Compute normal map node and Export vector map node.
Computing the normal map of a composition
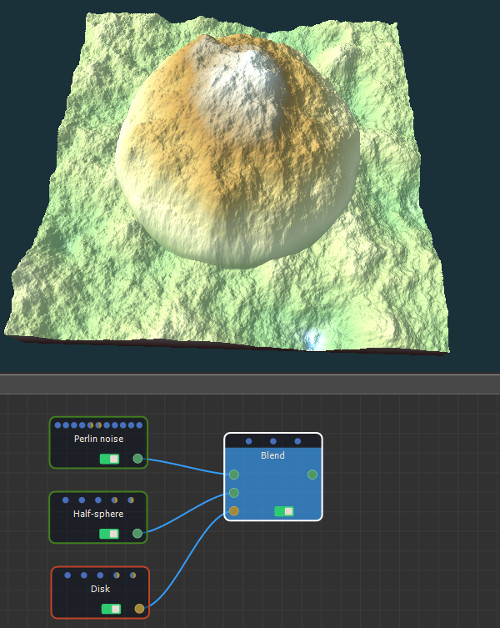
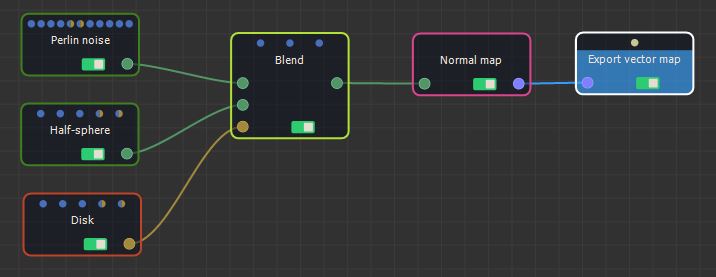
We create a graph by adding the Perlin noise and Half-sphere generators, and a Disk mask. The Perlin noise is one of the generators most frequently used to create a terrain and the Half-sphere generator creates a semi-ellipsoid plot. The Disk mask creates a circular mask.
- Right-click in the Graph and select the following to create the
nodes:
- Create Node > Terrain generation > Perlin noise.
- Create Node > Terrain generation > Half-sphere.
- Create Node > Mask generation > Disk.
- To link the nodes, we use a Blend node node to add the Perlin noise and Half-sphere terrains at locations defined by the disk mask. Right-click in the graph and select Create node > Terrain composition > Blend. Link the nodes as follows:
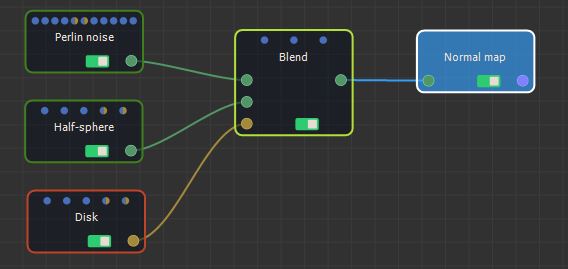
- Right-click in the Graph and select Create Node > Color > Compute normal map.
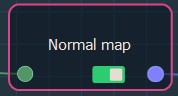
This node has no parameters.
- Link the nodes as follows.
Exporting a normal map
Now we are ready to export the normal map to be able to view it as a tiff, png, tga, or bmp file in your preferred image editor.
- Add an Export vector map node. Right-click in the Graph and select Create Node > Export > Export vector map.
- Link the nodes as follows.
- Double click on the Export vector map node to open its parameters.
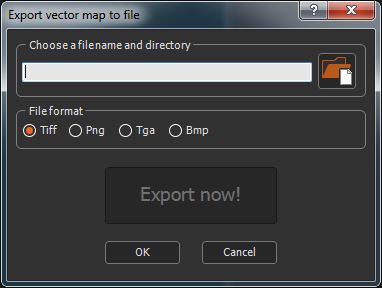
- Choose a file name and a directory by clicking on the folder icon, or type the directory of the file to export.
If you have already saved your project, type just a file name to export it to the same directory or a sub-directory of your project. This is useful, for example, if you have a second project in the same directory and want to import into it the exported file from the first project. There is no need to type the file directory, just the file name or the sub-directory and file name.
- Choose one of the following File Formats. The output file is an RGB file with 8 bits per channel.
| Format | Extension | Description |
|---|---|---|
| Tiff | .tif | Tagged Image File Format |
| Png | .png | Portable Network Graphics |
| Tga | .tga | Truevision Targa File |
| Bmp | .bmp | Windows or OS/2 Bitmap file |
- Click the Export now! button, which triggers the normal map calculation and saves it in the file.
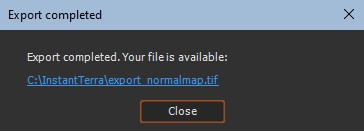
The export is confirmed by a pop-up dialog:
The color map created by computing the normal map
is viewed in your usual image editor. In the example below, the
normal map of the Perlin noise node and Half sphere node
composition is computed and exported to give the following
result.