The Getting started tutorial helps you to become familiar with the Instant Terra interface and to create your first terrain.
Watch the Getting started #1 video on the Wysilab YouTube channel.
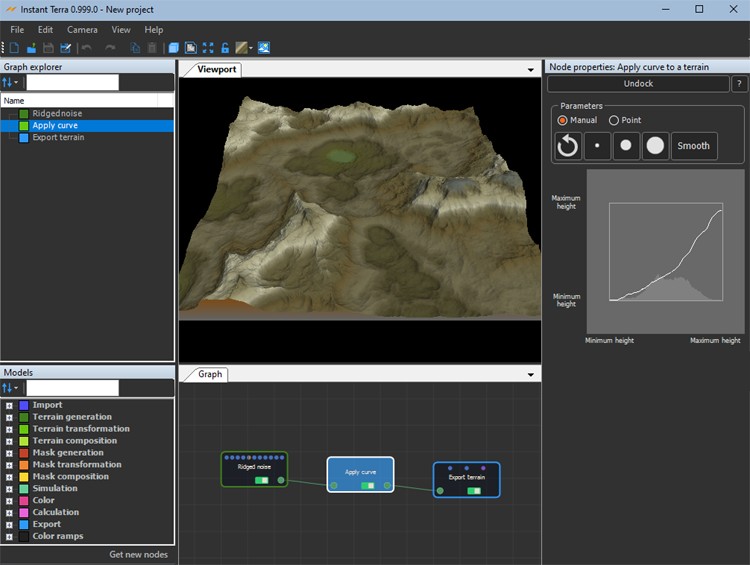
The Interface at startup
This is the Instant Terra interface at startup. It consists of a visual representation of a terrain in the Viewport and the default nodes composing the terrain in the Graph, including:
- Graph explorer: The Graph explorer is where you manage all the nodes and resources used in a project. It lists the various types of nodes as displayed in the Graph editor and updates in real time when you move a node.
- Models: The Models window displays a list of all the nodes that you can use in a project. You can sort the nodes by category or alphabetically, search them, and drag and drop them into the Graph editor.
- Viewport: The Viewport is where you see the real-time updates of the changes you make to your terrain. When you move the camera, link a node, or change a node parameter, the results are seen immediately in the Viewport.
- Graph: The Graph editor is where you do most of your work. Here, you build your terrain by linking Instant Terra's nodes via their connectors. You add, organize, and link nodes together to create your terrains.
- Main menu: The main menu gives access to Instant Terra's features.
- Toolbar: The toolbar gives quick access to some of Instant Terra's features.
Setting the camera
Open the Camera menu and select Camera settings.
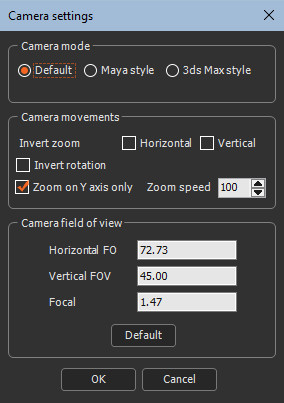
There are three different camera modes: Default mode, Maya style camera mode, and 3ds Max style camera mode. The Default camera is the Instant Terra camera, but you can select Maya-style, and 3ds Max-style and use the usual key combinations used in these software packages.
Customize the Camera movement and the Camera field of view.
See Setting the camera for more details.
Setting the theme
There are three different themes in Instant Terra. Open the Edit menu, select Preferences > Theme and choose from Blue, Gray, and Light.
Moving the camera
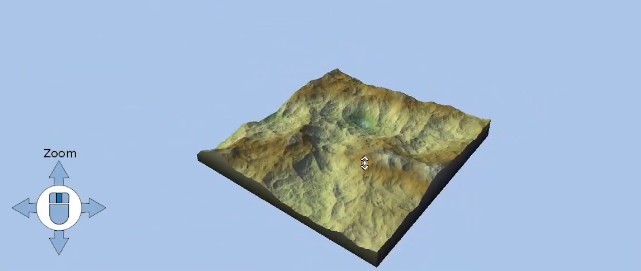
Let us see how we move the camera in the 3D Viewport.
See Moving the camera for more details.
Press the mouse wheel and move the mouse up and down or left and right to zoom in and out.
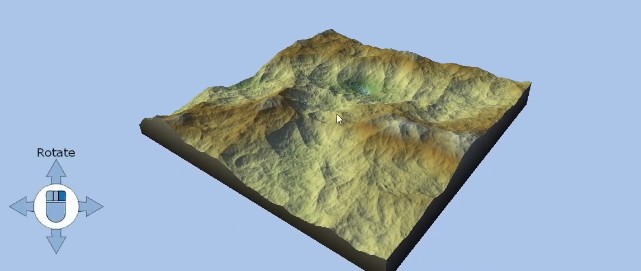
Move the mouse cursor on the terrain, press and click the right mouse button, and move the mouse to rotate the terrain.
To move the camera laterally, press and click the left mouse button and move the mouse.
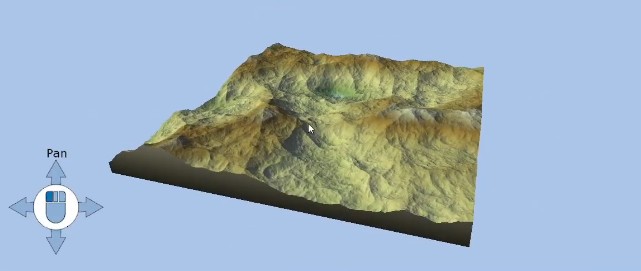
At any time, press the F key to center the camera on the terrain.
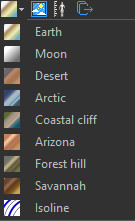
Modifying the color map
Switch between different presets to modify the terrain's color ramp. You can download others from the online Library or create your own.
See Create color ramp for details on creating your own color ramp.
Setting the environment
Let's have a look at the environment settings.
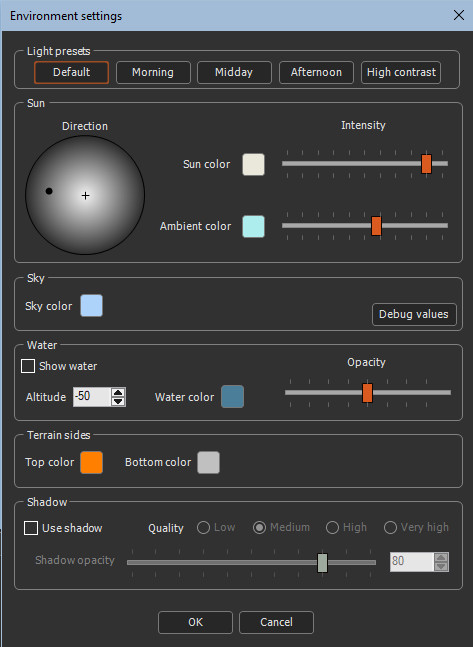
- Choose between different lighting presets.
- Modify the direction of the sun by clicking inside the circle and moving the point around the cross.
- Change the sunlight color, ambient color, and the sky color.
- Check Show water to display the water level, set the elevation, the water color, and the opacity.
See Setting the environment for more details.
Working with nodes
The top left window is the Graph explorer. It shows the different nodes in your project.
- Create a node by dragging and dropping a node from the Models window.
When you select the node, its properties are displayed in the Properties window on the right.
- There are two other ways to create a node.
- The first one is to press the TAB key to open the fast-creation menu.
- The second way to create a node is to click on an output and drag and drop it to open the fast-creation menu.
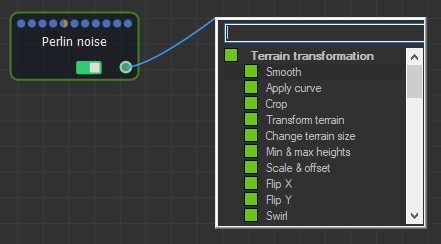
Search for the node that you want.
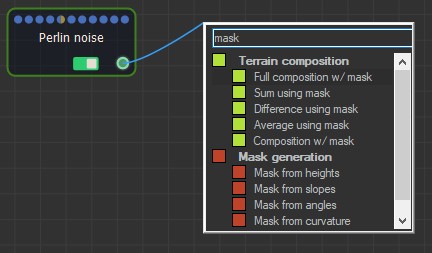
This menu displays only the nodes that are compatible with the link you have just created.
If you want more information about a node, select it to display its properties and click on the question mark button in the Properties panel to open the corresponding page in the online documentation.
- Disconnect a node, click on the connector and drag it anywhere in the Graph editor, or click on the link and press DEL on your keyboard.
- Enable or disable a node, select a node and press D on the keyboard. This is useful to see the effects of a node on the terrain. For example, when linking a Hydraulic erosion node, and press D to disable the node and view the terrain without the simulation.
- Lock the Viewport by pressing the SPACE bar on the keyboard or
by clicking on the Lock icon
 . This freezes the
display so that the terrain or mask currently displayed remains
visible in the Viewport regardless of the selected node.
. This freezes the
display so that the terrain or mask currently displayed remains
visible in the Viewport regardless of the selected node. - Get a preview before and after adding the node by clicking on the input and the output connector. The terrain is displayed in real time.
- Delete a node, select it and press the DEL key.
See the chapter Working with nodes for a complete description of how to work with nodes.