This sample demonstrates how to create a mountain from a painted mask.
Select Help > Samples to access
the sample project.
The sample folder is read-only. Save the project in a different
folder to update it.
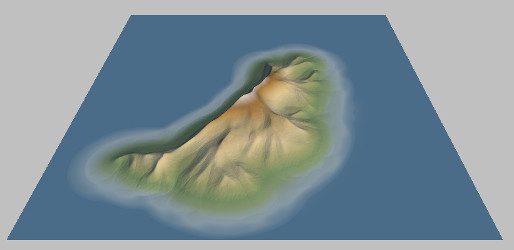
This sample shows how you can dynamically view the creation of a mountain while painting a mask. You can watch the corresponding video tutorial here.
Tips:
- Use the mouse to navigate inside both the Graph editor and the Viewport.
- Click on the corresponding node to view the terrain at any step of the creation process.
- Click on a node's connector pins to see the inputs used or the outputs generated.
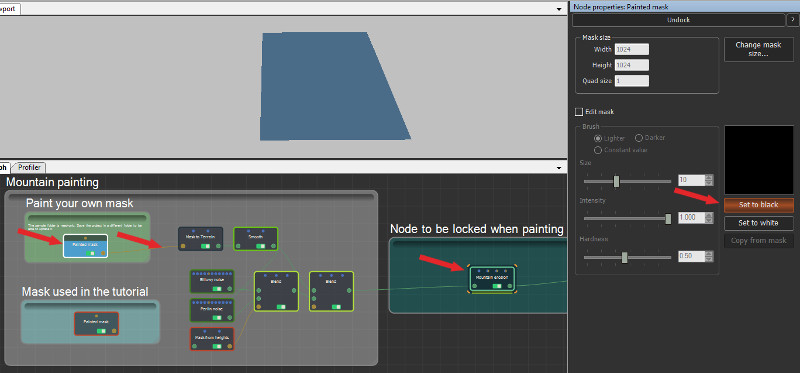
Step 1: Prerequisites
First, lock the Mountain erosion node: select this node and press the space bar to lock the view on this node.
To start painting your own mask, disconnect the mask used in the tutorial and connect your own mask to the "Mask to Terrain" component. Select the painted mask node and click Set to black to reset the mask.
At this step, a flat terrain is displayed and you are ready to start painting your mountain.
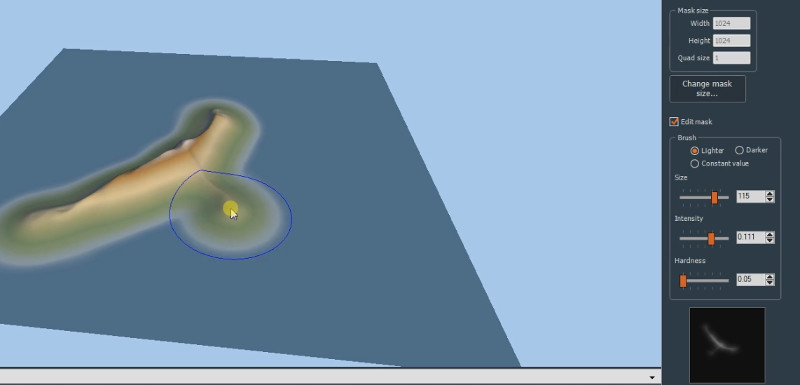
Step 2: Painting the mountain
Select Edit mask and the
Lighter option.
Set the Hardness parameter to the minimum: we need
a smooth brush here.
Start with a medium Size brush and a medium
Intensity. For example in this tutorial, we start
with a size of 115 and an intensity of 0.111.
Paint your mask and watch your terrain being created.
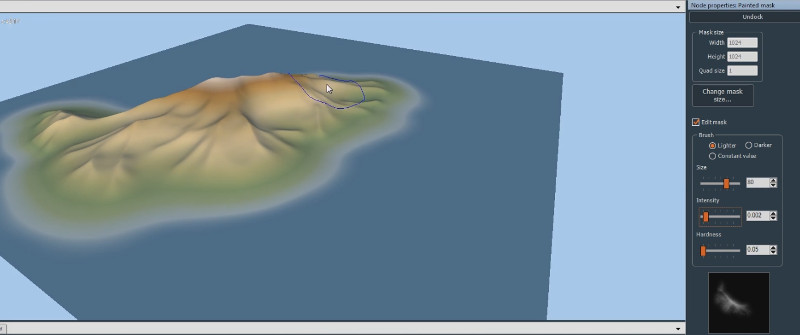
Step 3: Refine the terrain
When you get the final rough shape of your mountain, you can add two steps to refine the terrain.
- Add shapes of a smaller scale: reduce the size of the brush and then paint to add more details. In the tutorial, the brush size is reduced to 30. You can also reduce the intensity.
- Smooth your terrain: use a large size of brush with a very low intensity. In the tutorial, we use a brush of 80 with an intensity 0.002.
Step 4: Between the painting and the viewing
You can see several nodes between the painting mask and the
Erosion node used to view the resulting terrain.
First, a Mask to Terrain component is used to change the
mask into a terrain. It takes into account two parameters: the
minimum and maximum elevation for the result terrain. The minimum
elevation will be used at the places where the mask is black (value
0) and the maximum elevation is used at the places where the mask
is white (value 1).
If you are curious to know how this works, right-click the Mask to
Terrain component and select Edit component.
Then, we smooth the terrain to get rid of the sharp edges.
Finally, we add noise in the areas where the terrain has elevation: the Blend noises are driven by the Mask from heights.

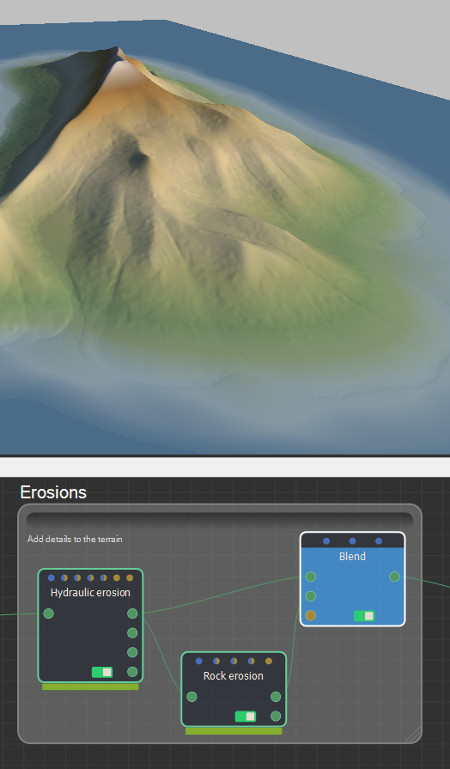
Step 5: Erosion
The Mountain erosion node has been added at this step. You may not need it, or just use very low settings, depending on the previous result and your expectations.
The Hydraulic erosion is blended with Rock erosion. Feel free to adjust the settings, or even to remove these steps if you want your terrain to remain unaltered.
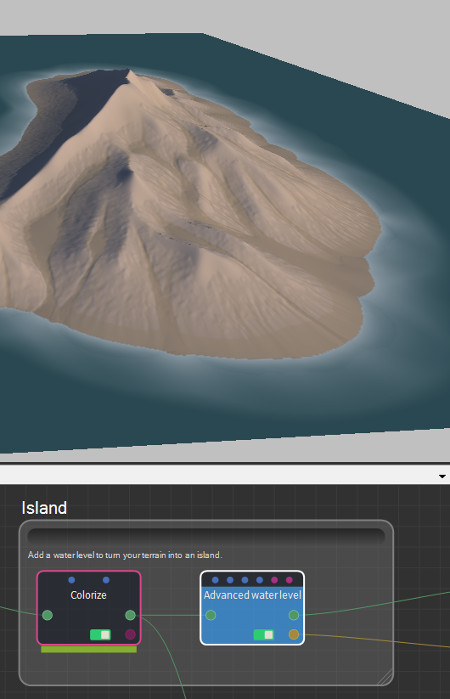
Step 6: Use it as an island
If you want your mountain to be an island, add a Water Level or an Advanced Water Level node, and adjust the water elevation. In this tutorial, we use a Colorize node prior to the Water level node.
Step 7: Compose it with a larger terrain
Place your mountain in a larger terrain using a Full composition node.
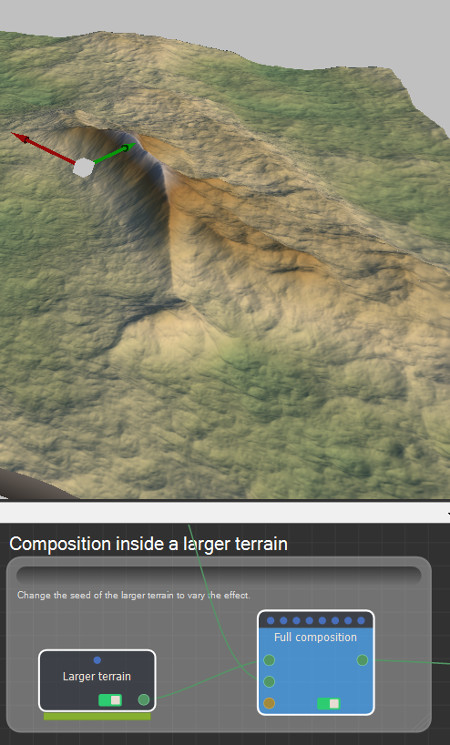
Now you can find other ways to use your mountain. Try using it as a stamp with the Stamping node, for example.
Copyright © 2022 · All Rights Reserved · Wysilab