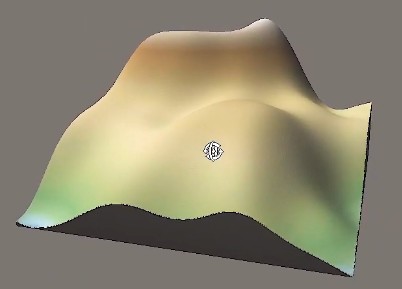
In this tutorial, we will create a simple terrain and look at all the basic nodes.
Watch the Getting started #2 video on the Wysilab YouTube channel.
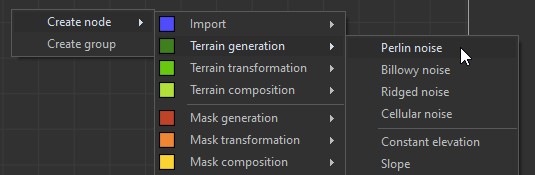
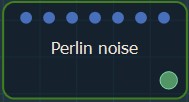
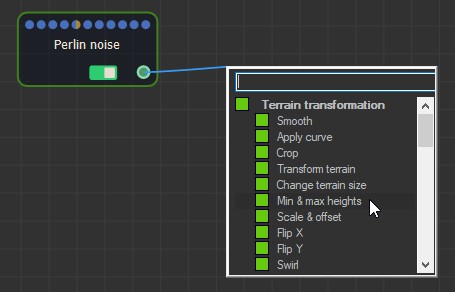
Let's start by adding a Perlin noise node.
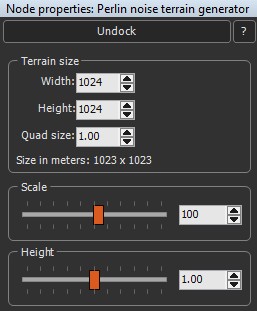
Modify the terrain by tweaking the scale and height in the Properties panel.
Our goal is to create a mountain landform that we will be able to reuse easily. We only want to keep the rough shape, so we reduce the number of detail levels.

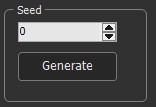
Most generator nodes have a randomize seed: changing it produces a different, yet similar result. Play around with this value to see the effects on the terrain.
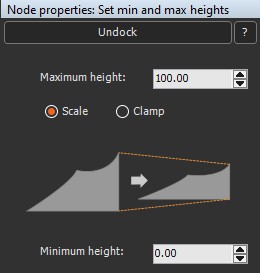
We set the elevation range using a Min & max heights node. Drag the output connector to open the Fast-creation menu, and select the node.
We want this shape to be roughly 300 meters high. Set the Maximum height value in the Properties panel to 300.
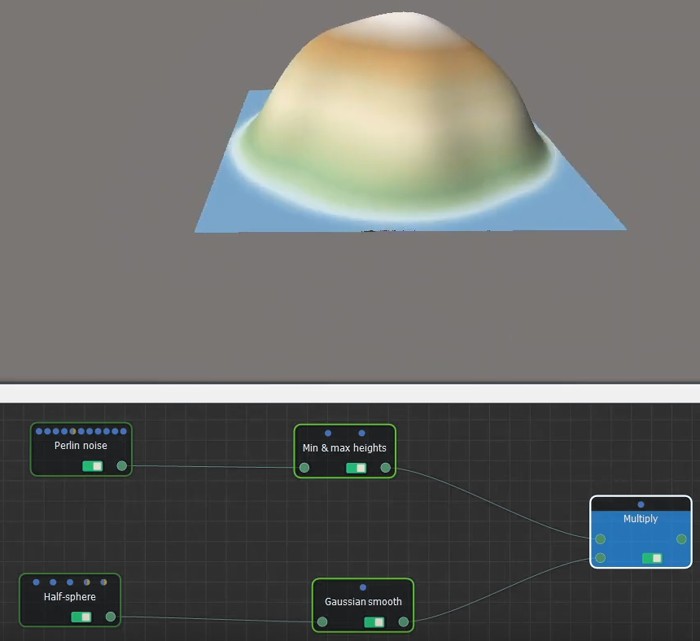
As our mountain should blend with the terrain's border, we create a smoothed hemispheric terrain by adding a Half-sphere node and a Gaussian smooth component.

Don't forget that you can lock the 3D viewport on a node by pressing the SPACE key.
We add a Multiply node and multiply our landscape using this bell shape.
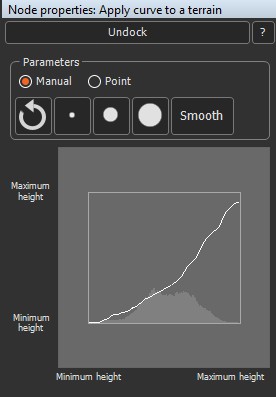
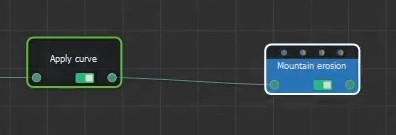
The general structure is good and we can now focus on adding details. We sum a Ridged noise node with an Apply curve node to get sharp features. The Apply curve node is used to transform the terrain's elevations. What is really powerful is that you can paint the curve in real time.

Let's tweak the tiling and the height again in the Ridged noise node's properties. Now it's beginning to take shape.
We're going to reuse an Apply curve node, but this time using curve point editing. In this mode, it's easier to reshape your terrain without adding any more detail.
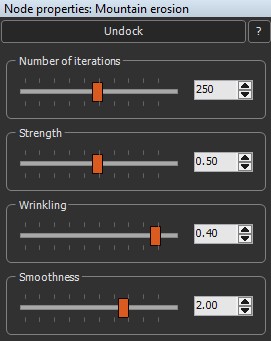
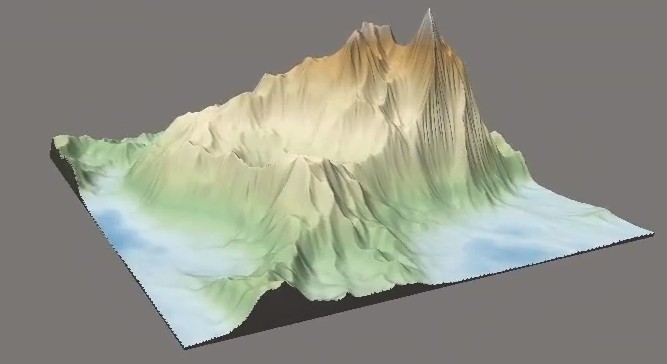
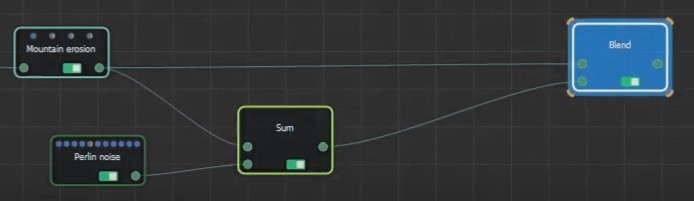
Now add a Mountain erosion node to give us sharp crests. This node simulates the effect of fluvial carving over a wide time span.
The four sliders in the Properties panel change the way the terrain ages. You'll soon be able to anticipate the output.
Add another layer of noise with a Perlin noise node to get a bit more variation.
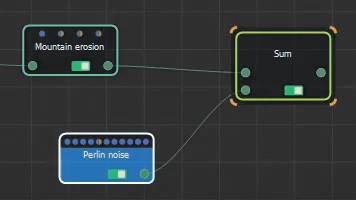
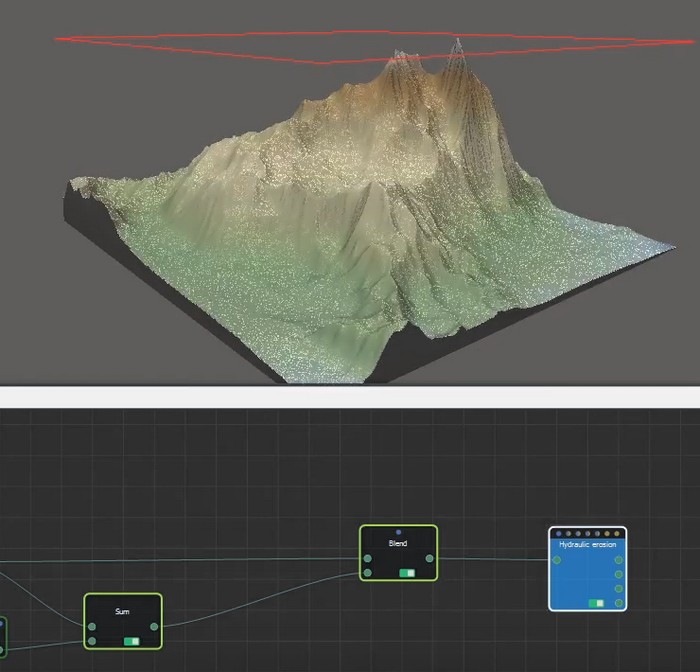
By blending the terrain before and after a transformation, you can control the influence of an effect.
Play with the sliders in the Properties panel. And don't forget that if you're not satisfied with your result, you can always lock the last node and tweak any of the graph's parameters.
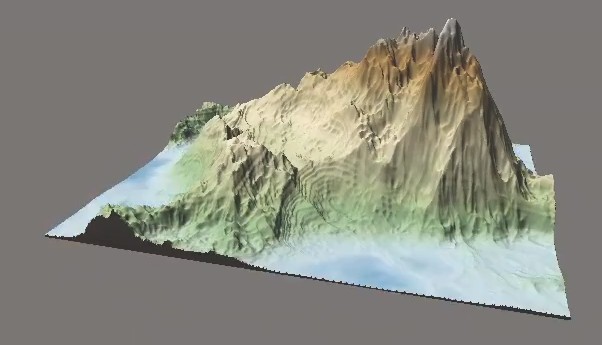
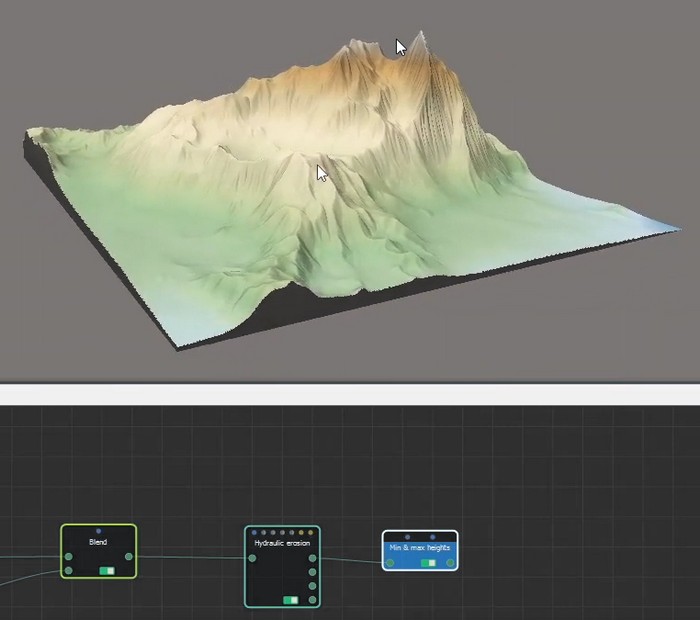
Now we link a Hydraulic erosion node to add the final details. This node creates realistic erosion effects by simulating rainfall and river carving. When the simulation runs, you can observe the water layer as well as the sediments created by the erosion.
Again, set the elevation range with a Minimum & maximum node.
Lastly, we will make the terrain blend with the borders. As before, multiply our terrain with a bell shape to get a smooth transition.
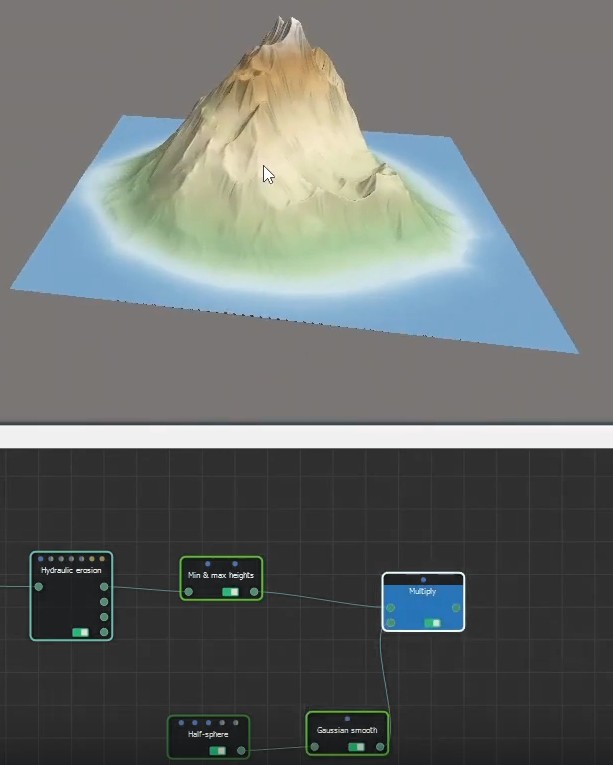
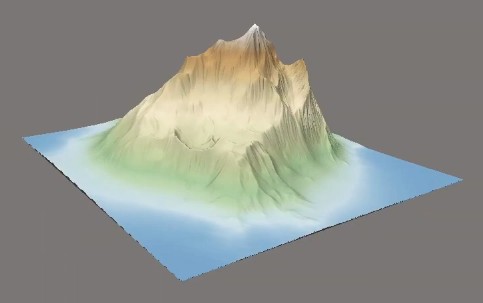
We've completed our first terrain!